Choose a print size without losing the important bits
Understand why a photograph crops differently at different sizes, how to protect the important details and what to check before ordering your prints.
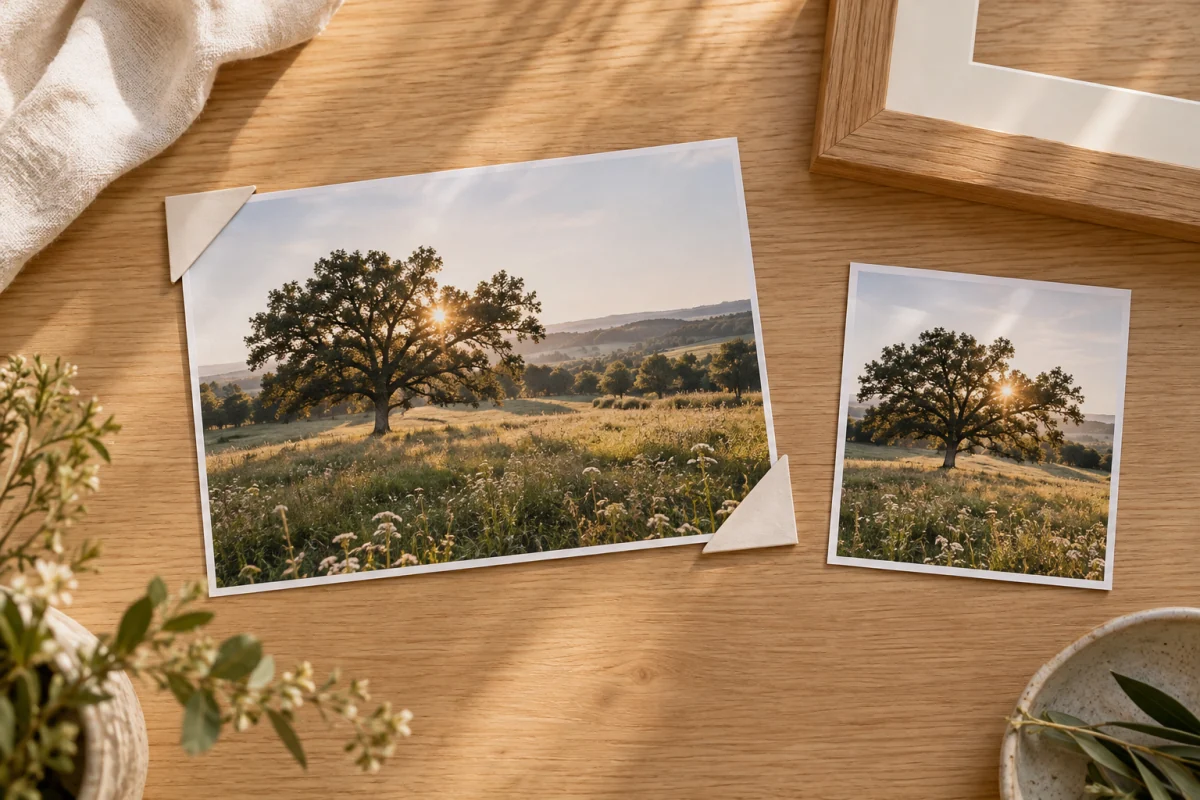
You choose an 8 × 10 print, open the preview and discover that someone’s elbow is missing. The photograph has not gone wrong. The shape of the paper is simply different from the shape of the file.
A little planning before checkout can prevent that surprise. Start with the final display, then choose a crop that works for the image.
Size and shape are two different decisions
A 4 × 6 photograph has the same proportions as an 8 × 12: both have a short side that is two-thirds of the long side. An 8 × 10 is closer to square. Enlarging a 4 × 6-shaped image to fill 8 × 10 paper therefore requires trimming part of the image. Rotating the paper changes the orientation, not those proportions.
You do not need to remember the maths. Compare the crop box with your picture. If the composition feels squeezed, try a different available print size rather than moving the box around indefinitely. Changing from landscape to portrait can require a much tighter crop.
Measure the space you are actually filling
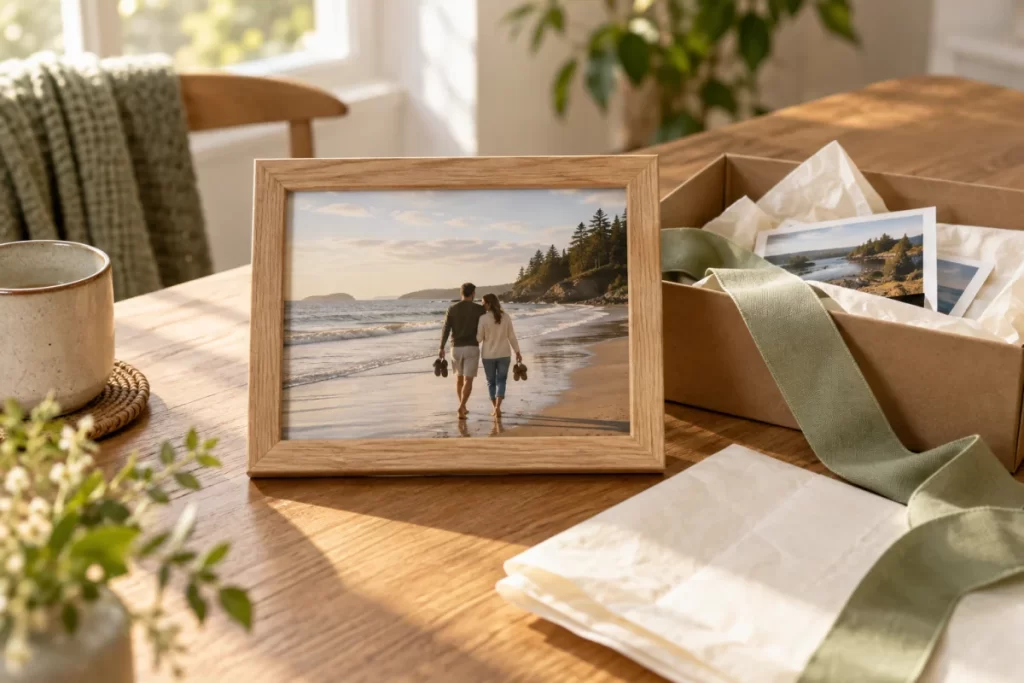
If you own a frame, measure the photograph opening or check the frame’s labelled print size. A mount may cover a small amount of the print edge, so avoid placing a signature or other critical detail right against it. If you are choosing a wall print, mark out its dimensions on paper and look at it from your usual viewing position.
A small print can be intimate and deliberate. A large print is not automatically better. Think about the available space and the detail in the source image, not just the largest size in the menu.
Set the size before refining the crop
- Open the product you want and choose a starting size and finish.
- Upload the original photograph, then check its individual size in the editor.
- Move and resize the crop box so the important parts stay inside it.
- Review corners as well as the centre: hands, hair, buildings and horizon lines are easy to overlook.
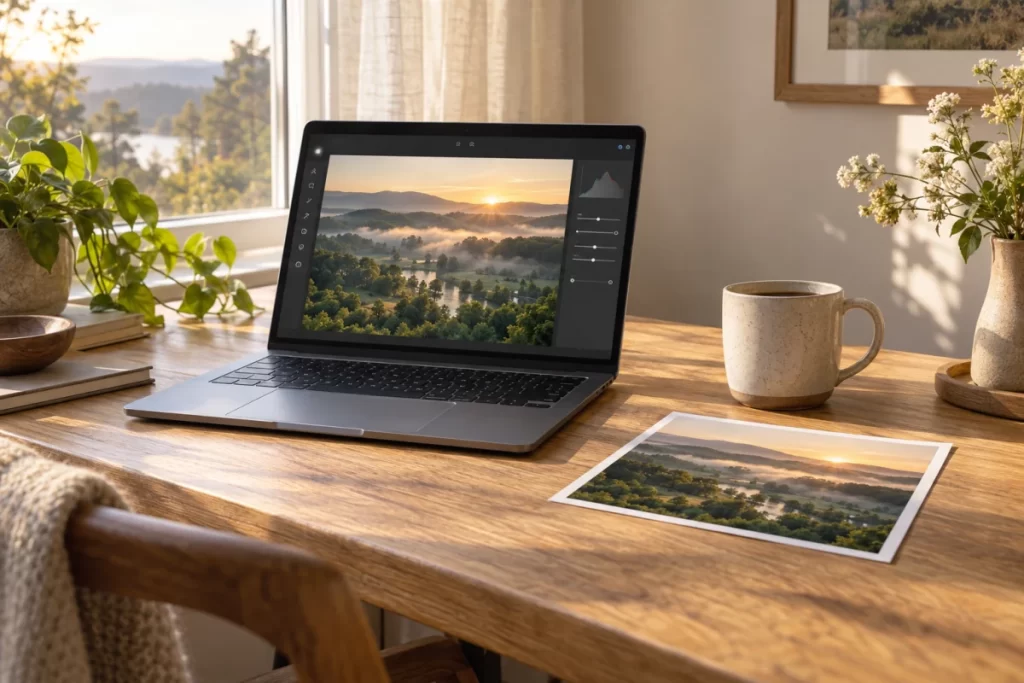
- Wait for saves to finish, then open Preview to inspect the accepted selection.
If you change the print size later, review the crop again. A crop that looked balanced at one shape may be awkward at another. Use Duplicate when you want two different print versions of the same photograph, then give each its own size, crop and quantity.
Watch what a tight crop does to detail
Cropping away most of a picture leaves fewer original image details to enlarge. The editor may show a Resolution warning even if the uncropped photograph was large. A smaller size, a looser crop or a higher-resolution original can help.
The warning is advice: you can still order the photo as it is. It also cannot detect every problem. Camera shake, missed focus and heavy editing may look soft even when there is no warning. Look at the original closely before committing to a large print.
Canvas needs an extra edge check
Full wrap uses part of the photograph around the sides of the stretcher frame. Leave extra room around the subject. Reflected, white and black edges offer other treatments. Compare the edge styles on the Canvas Prints page; the flat preview does not show the finished sides.
Find the size that fits.
Browse the available Photo Print sizes or explore Bamboo Fine Art Prints for an image you plan to frame. For help with the controls, visit Editing your photos.