Is Your Photo Good Enough to Print? Five Things to Check
Check your original file, sharpness, print size, brightness and crop with five simple steps to help you choose a photo you will love in print.
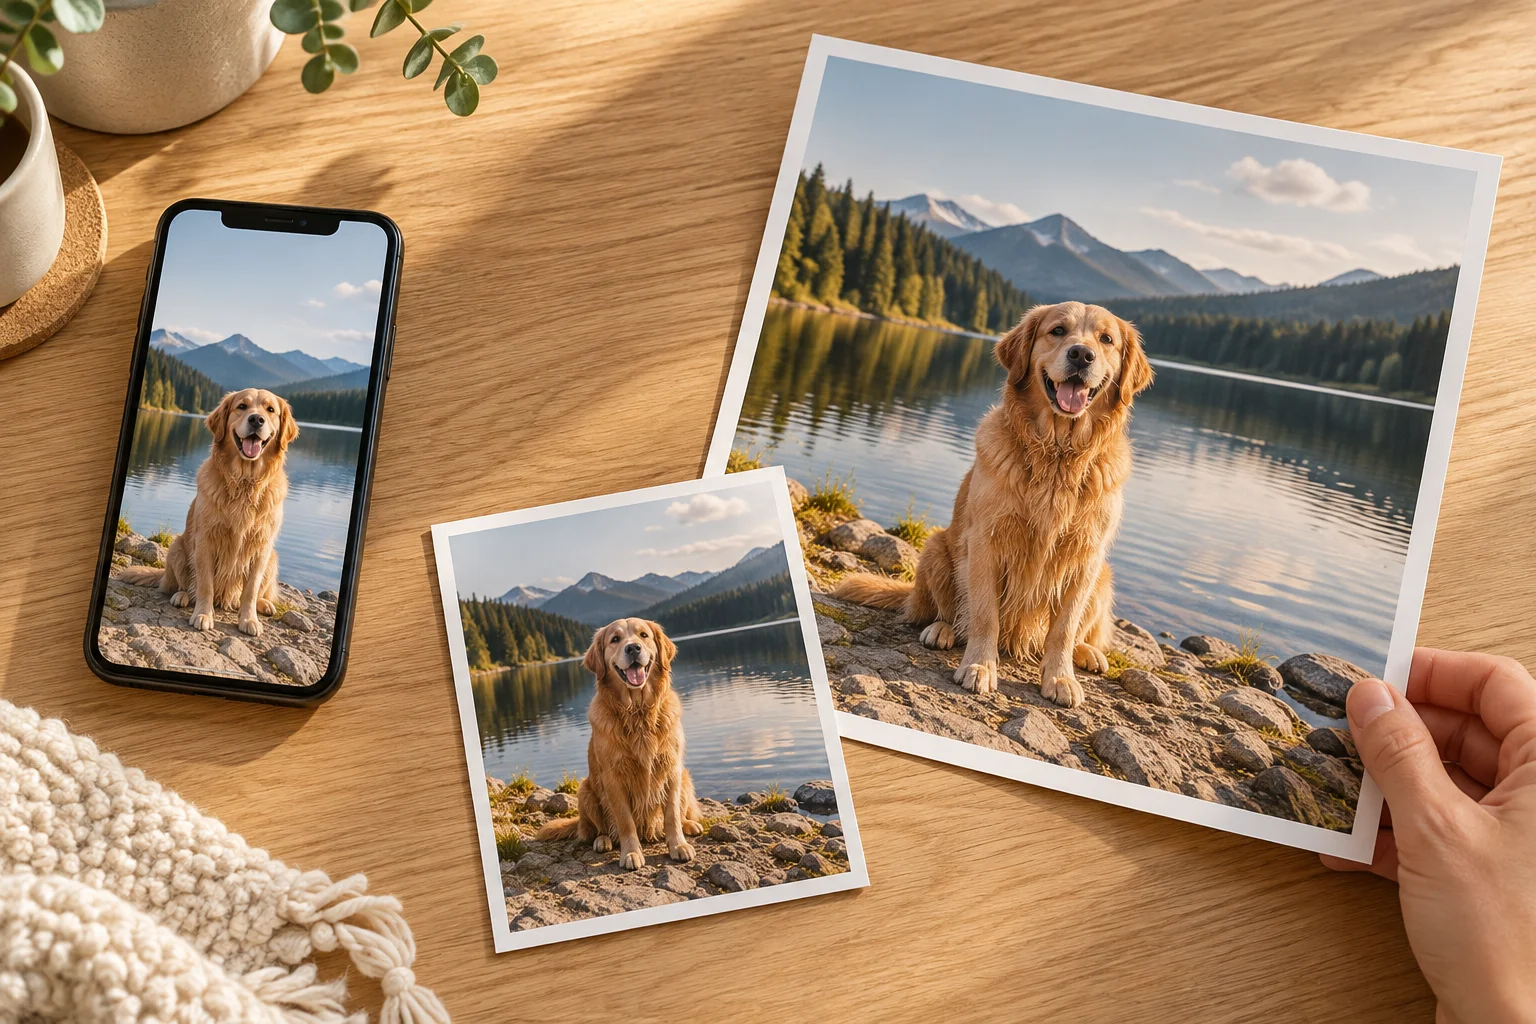
A favourite photo does not have to come from an expensive camera to deserve a place on your wall. A phone photograph of your dog, a family afternoon or a view you almost walked past can make a lovely print.
The useful question is whether the file you have will suit the print you want. Before you order, give it these five quick checks. You do not need special software, and you do not need to understand a page of technical settings.
1. Start with the best original file
Find the photograph in the camera roll, camera folder or cloud library where the original was saved. If someone sent it to you, ask for the original or a full-resolution copy when possible. Messaging services and social platforms may reduce images to make them easier to share.
A screenshot can look fine on a phone while containing much less detail than the photograph it shows. Cropping away the screen controls will not bring that missing detail back. Likewise, making a small image file larger does not automatically restore the texture in hair, leaves or a distant landscape.
Quick check: If you have several copies, choose the original or highest-quality export. Keep it safe and make your edits on a copy.
2. Look closely at what matters
Open the photograph and zoom in on its main subject. For a portrait, look at the eyes. For a pet, look at the face and fur. For a landscape, check the detail you want people to notice.
Is that area clear, or does it look smeared, grainy or out of focus? A soft background can be intentional and beautiful; the important thing is whether the part you care about looks the way you want. Motion blur and missed focus are different from a file simply being too small.
On a computer, a 100% view is useful for inspecting detail, but it is not a reliable preview of the physical print size. On a phone, avoid judging the whole picture only from its small thumbnail. Look closely, then return to the full image and consider how you will display it.
Quick check: If the important detail is already noticeably blurred, consider a smaller print or another photograph from the same moment. Heavy sharpening cannot reliably recover detail the camera never captured.
3. Match the detail to your chosen print size
The same file can suit a small album print better than a large wall print. Enlarging it spreads the available detail over a bigger area. Cropping tightly also leaves you with less of the original image to work with.
In our editor, choose the size you actually want and adjust the crop before checking for a Resolution warning. If one appears, try a higher-resolution original, a less tightly cropped composition or a smaller print. Ordering is still possible, but the result may look blurry or pixelated at that size.
No resolution warning is not a guarantee of a sharp photograph: a large file can still contain motion blur or poor focus. That is why the close look in the previous step matters.
Quick check: Check the selected size and crop together. Our print size and cropping guide explains why changing the shape of a print can remove parts of the photograph.
4. Check brightness and colour gently
A screen gives off light; a paper print reflects the light around it. A photograph viewed on a very bright display can look darker once printed. The lighting where you view the print also affects its appearance.
Review your photo with the screen at a comfortable, moderate brightness in a normally lit room. Look for faces lost in deep shadow, white areas with no visible detail, or colours pushed much further than you intended. Make small adjustments and compare them with the original.
There is no single brightness setting or editing recipe that guarantees a screen-to-print match. Avoid brightening every photo heavily just because it will be printed. If accurate colour is especially important, contact us before ordering to discuss your needs.
Quick check: Aim for a natural-looking photograph with detail in the areas that matter. Our photo editor guide can help you choose a familiar tool for small corrections.
5. Give the finished crop one last look
Open Print Preview for the size you have selected. Check the edges as carefully as the middle: faces, hands, pets’ ears and a favourite detail can sit closer to the edge than you noticed on the original.
Different print shapes need different crops. An image that fits a 4 × 6 print may lose more at the sides when prepared for an 8 × 10. Adjust the composition for each version rather than assuming one crop fits every size.
For canvas, also consider the edge treatment you chose and where important details sit. If you have added text or a frame to a Photo Print, check that it is readable and placed where you intended. Let your applied changes finish saving before leaving the editor.
Quick check: Confirm the print size, orientation, crop and any added details. Print Preview helps you check the layout; your screen cannot reproduce the exact colour or surface of the finished print.
Ready to give that photo a place?
Start with Photo Prints for an album or a frame you already own, or explore Canvas Prints and Bamboo Fine Art Prints for a favourite image you want to display.
If you would like to get comfortable with the controls first, try the editor with our sample photo. You can explore cropping and adjustments before uploading your own.
A meaningful photograph does not have to be technically perfect. These checks help you choose a file, size and presentation you will be happy to live with.
Further reading: Adobe’s explanation of printed image resolution and Bay Photo’s guide to viewing prints in suitable light.