How to Create a Photo Wall That Feels Like You
Choose meaningful photos, plan a simple layout and mix photo prints, canvas or fine art to create a wall that feels like home. Start small and let it grow.
A photo wall does not have to look as though someone designed it all in one afternoon. Some of the most inviting collections grow slowly: a favourite place, a family moment, a photograph that makes you smile every time you pass it.
You do not need a huge wall or a matching set of everything. Start with a few photographs you love, give them a little breathing room, and build a display that feels like it belongs in your home.
Start with the photographs, not the empty wall
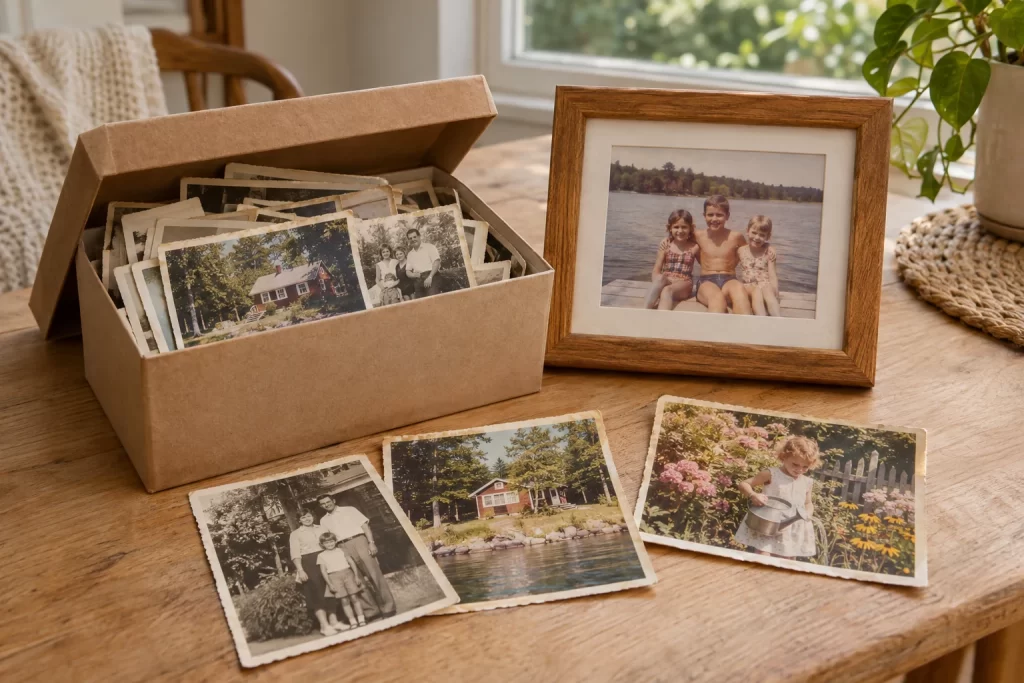
Before shopping for frames or deciding on sizes, gather a small collection of pictures you would enjoy seeing every day. Think about the feeling you want the space to have. A hallway might hold a cheerful mix of family and friends. A bedroom could suit quieter photographs of water, woodland or a place you return to in your mind.
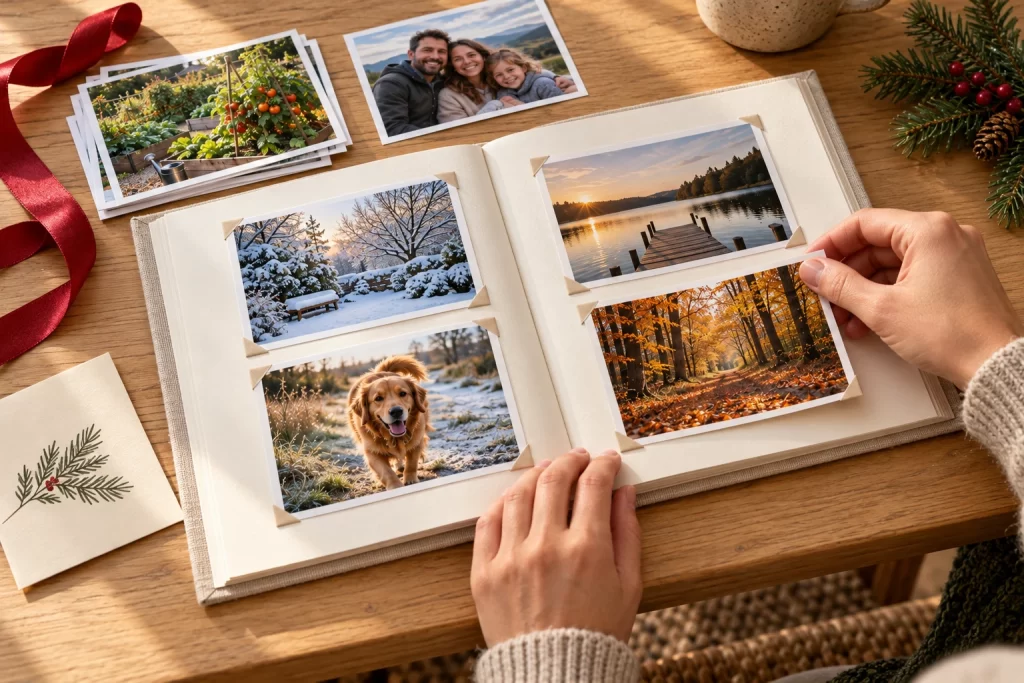
The pictures do not all need to come from the same occasion. Look for a connection: similar colours, a shared place, or people who matter to you. A holiday landscape, a candid portrait and a close-up of something you noticed along the way can make a lovely little set.
If you have too many favourites, make a shortlist first. Our guide to choosing photos from your phone can help you find a starting point.
Give the collection one thing in common
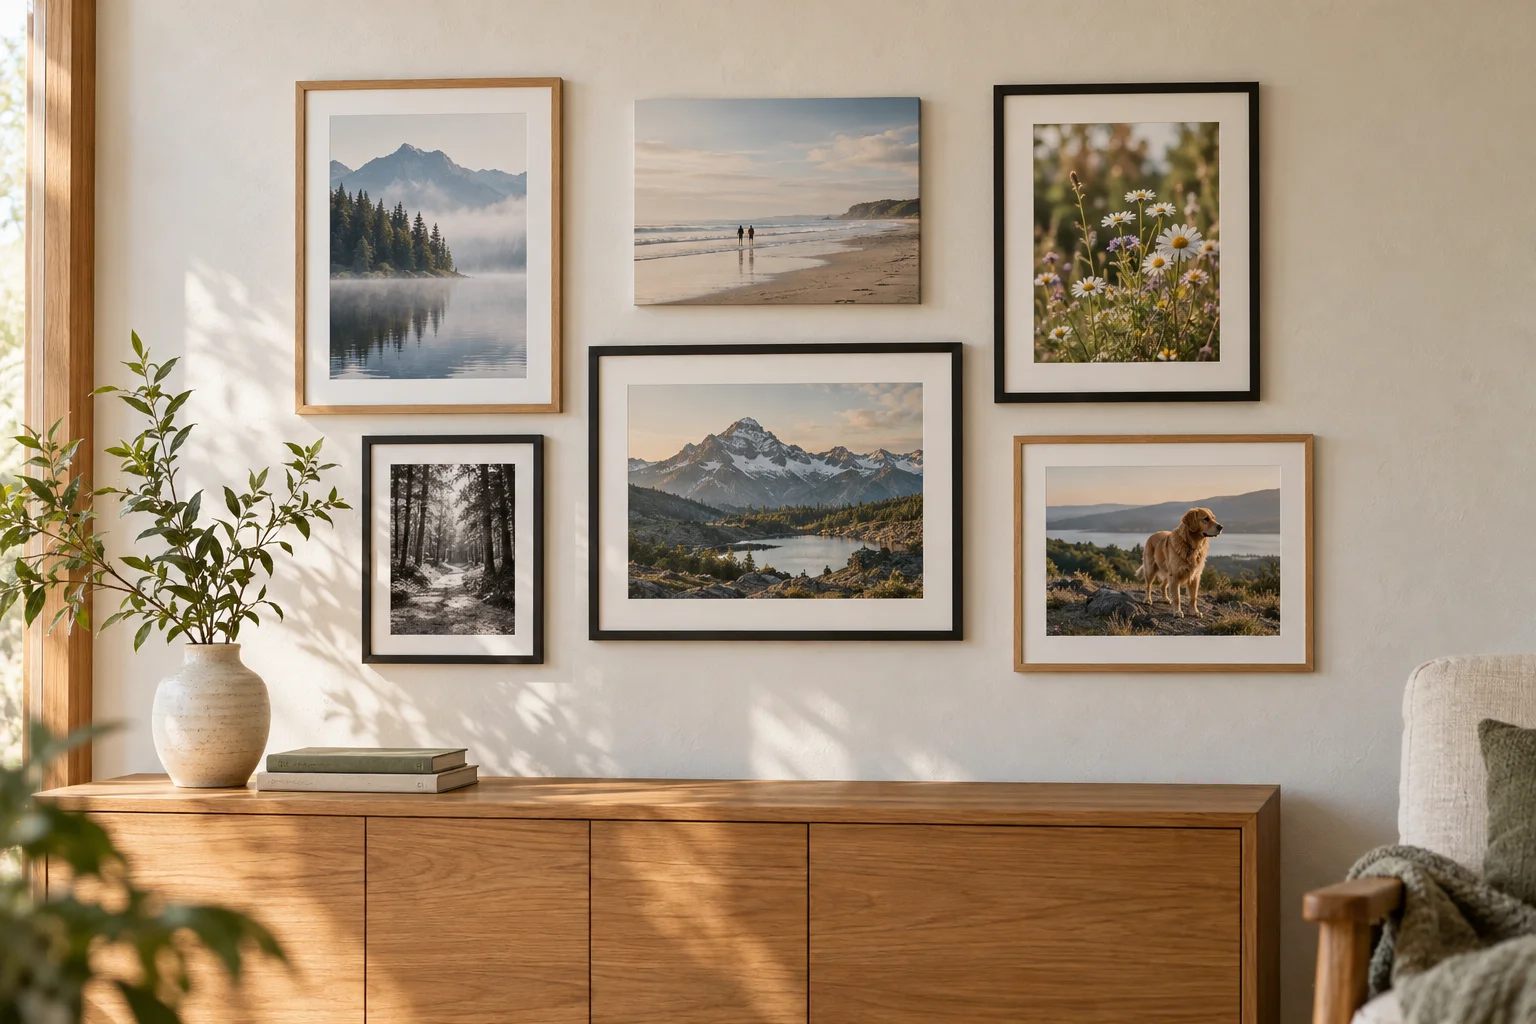
A little repetition helps different photographs feel comfortable together. That might be natural wood frames, white mounts, warm colours in the pictures, or a consistent space between each piece. You do not need to match every detail.
Colour and black-and-white photographs can work together, too. Try placing them beside one another before committing. If one image feels much louder than the rest, move it, give it more space, or save it for a different part of the room. There is no need to force every favourite into one arrangement.
Keep editing gentle. The aim is a collection you enjoy looking at, rather than making every photograph look as though it was taken on the same day.
Choose a layout that suits your space
You can make a satisfying display with just three photographs. Here are three easy arrangements to try:
- A simple row: three similarly sized pictures with even gaps. This works well when you want a calm, tidy arrangement.
- One favourite with a few companions: choose a larger photograph as the starting point, then arrange two or three smaller pieces around it.
- A relaxed collection: mix portrait and landscape pictures, keeping a few edges or centres aligned so the arrangement feels connected.
Above furniture, think about the display as one group. Stand back and see how it sits with the sofa, sideboard or table below it. In a hallway, check the view as you walk past. A layout that looks good close up may feel quite different from the other end of the room.
Try paper templates before you order
This is a small step that can save a lot of second-guessing. Cut scrap paper to the outside dimensions of the frames you plan to use, or to the finished size of a canvas. A frame and mount can make the finished piece considerably larger than the print inside it.
Arrange the templates on the floor first. If your wall finish permits it, use a suitable removable adhesive to try them on the wall, following its instructions and testing an inconspicuous spot. Write a quick description of each photograph on its template so you can picture the collection.
Live with the arrangement for a day if you can. Check it from the doorway and from where you normally sit. Take a phone photograph to compare different layouts. When you are happy, note the sizes and gaps before taking the templates down.
Choose the print that suits each photograph
Photo Prints are an easy place to begin, especially if you already have frames you like. Choose your print size and paper finish, then add the frames separately. Check both the frame’s stated print size and the visible opening if you are using a mount.
Canvas Prints arrive stretched and bring a different texture to the wall. One canvas can be the main piece in a mixed collection. Preview the crop carefully and consider your edge choice, particularly when faces or other important details sit near the edge of the photograph.
For photographs you want to present on a textured matte paper, our Hahnemühle Bamboo Fine Art Prints are another option. Pair them with a frame and mount chosen for your space. Frames and mounts are not included with our paper prints.
You can keep the whole collection on one print type or mix them. If you are unsure, start with the photograph you most want to display and choose its presentation first. Our guide to photo, canvas and fine art prints explains the differences.
Check the crop before you commit to a size
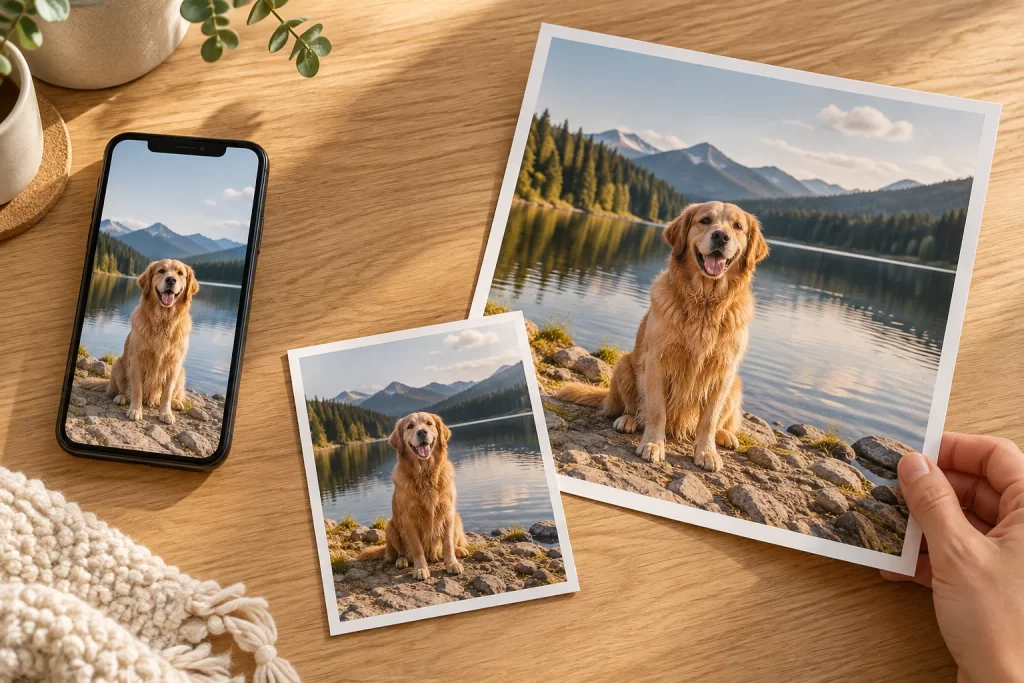
A photograph that works beautifully in a wide frame may need a different crop for a square one. Keep faces, hands and meaningful details clear of the edges, and check every version in Print Preview. The print size and crop guide walks through this in more detail.
Use the best original image file you have, rather than a screenshot or a small copy saved from social media. If the editor shows a Resolution warning, consider a smaller print or a higher-resolution file. You can still order the image, but it may look blurry or pixelated at that size.
Want to see how choosing a size and adjusting a crop works first? Try the editor with a sample photograph before uploading your own.
Leave room for the next memory
You do not have to fill the wall at once. Three prints you love are a better starting point than a dozen chosen just to fill a gap. Leave space to add a new holiday, a changing family or an ordinary day that turned out to be worth remembering.
Your display can change as your life does. Move a favourite to another room, swap a photograph in an existing frame, or add a smaller print beside a larger one. The collection is yours; it is allowed to grow.
Start with a few favourites.
Explore Photo Prints, Canvas Prints or Bamboo Fine Art Prints and choose the starting point that feels right for your wall.
Once your upload has finished, you can return to your Photo Library to keep editing and order when you are ready. Give your favourite photographs a little time, and a place you will see them every day.