Your Year in Twelve Photos: A Personal Christmas Gift
Choose twelve meaningful moments from your year and turn them into a personal Christmas gift, with photo ideas, thoughtful presentation and time to enjoy the process.
A snowy walk, a summer afternoon by the lake, someone laughing in the kitchen. The photographs that tell the story of your year may already be sitting on your phone, scattered between shopping lists and pictures you meant to sort later.
Choosing twelve of them is a small project you can begin now and turn into a personal Christmas gift. A little collection of prints gives someone a year they can hold, look through and enjoy again.
You do not need a photograph from every month. Twelve is simply a helpful limit: enough to tell a story, and few enough to finish.
Start with the person who will open the gift
Think about whose year you are telling. For grandparents, it might be a collection of family moments they would love to revisit, including the everyday ones they missed. For a partner, it could be places you went together. For a friend, it might be twelve small reminders of a year you shared.
You can make a collection for yourself, too. A favourite walk, a garden you tended or the dog in their usual spot can say plenty about what made this year yours.
Choose one simple thread before you start looking. “Our family this year” or “Places we went together” gives you a useful way to decide what belongs.
Make a small shortlist before you edit
Set aside twenty minutes and create an album or folder for possible photographs. Aim for around twenty to thirty favourites on the first pass. Leave editing until you have chosen the final twelve; otherwise, it is easy to spend the whole evening adjusting a picture that never makes the collection.
Look beyond the obvious occasions. Birthdays and holidays are lovely starting points, but the pancakes on Sunday morning or the muddy boots after a walk may bring back a whole day.
If someone else has the photograph you want, ask them for the original or a full-resolution copy. Our guide to choosing photos from your phone can help if your camera roll feels a little overwhelming.
Twelve ideas to help you choose your photographs
Use these as starting points. Swap any that do not fit, repeat a theme you love, or let one memorable weekend supply several pictures.
- A person who mattered. Choose an expression or gesture that feels like them.
- A place you loved returning to. It could be a cottage, a familiar path or your own front step.
- An ordinary day worth keeping. Breakfast together, a school morning or a quiet evening at home.
- Something that made you laugh. A candid moment often carries its own story.
- A first. A new hobby, a first harvest, a first visit or a small achievement.
- A season you enjoyed. Snow on the garden, spring blossoms, summer light or autumn colour.
- A favourite companion. A pet, a friend or the person who is usually behind the camera.
- Something you made or grew. A meal, a garden bed, a repaired room or a project you finished.
- A day out. Choose one picture that brings back how it felt to be there.
- A small detail. Sandy shoes, a well-used recipe or flowers on the kitchen table.
- Something that changed. A move, a growing family or a familiar view that looks different now.
- A moment you want to carry forward. End with a photograph that makes you want to keep looking.
Choose the ideas that feel right for you. If this was a quiet or difficult year, choose the moments you feel comfortable sharing. A few small comforts can make a meaningful collection.
Give the twelve photos a gentle sense of order
Lay out the shortlist on your screen and look at it as a group. If several photographs tell the same story, keep the one you like best and make room for another moment. A mix of people, places and small details gives the collection variety.
You might arrange the final twelve from winter to autumn, group them around people and places, or begin and end with your two favourites. The order can be as simple as what feels pleasant to look through.
Add a short note for each picture on a separate card or beside it in an album. “The walk when we got caught in the rain” may mean more to the recipient than a date alone. Include names and places where they help tell the story.
Choose a simple way to give the prints
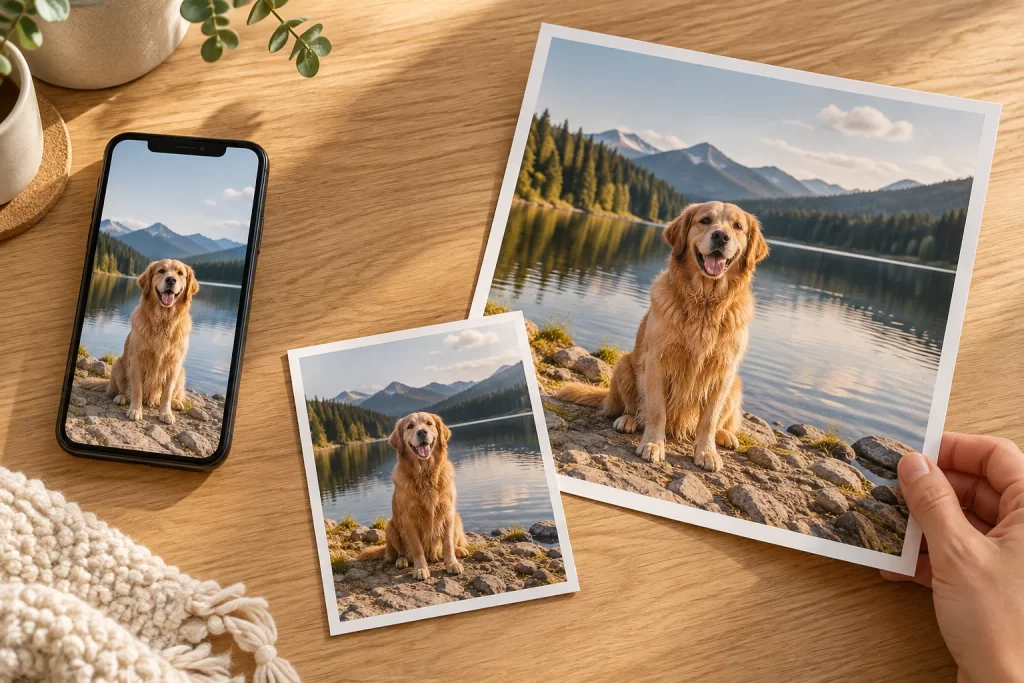
Photo Prints are a straightforward starting point for this project. You can keep the set at one size or choose a few different sizes to suit the photographs and their display.
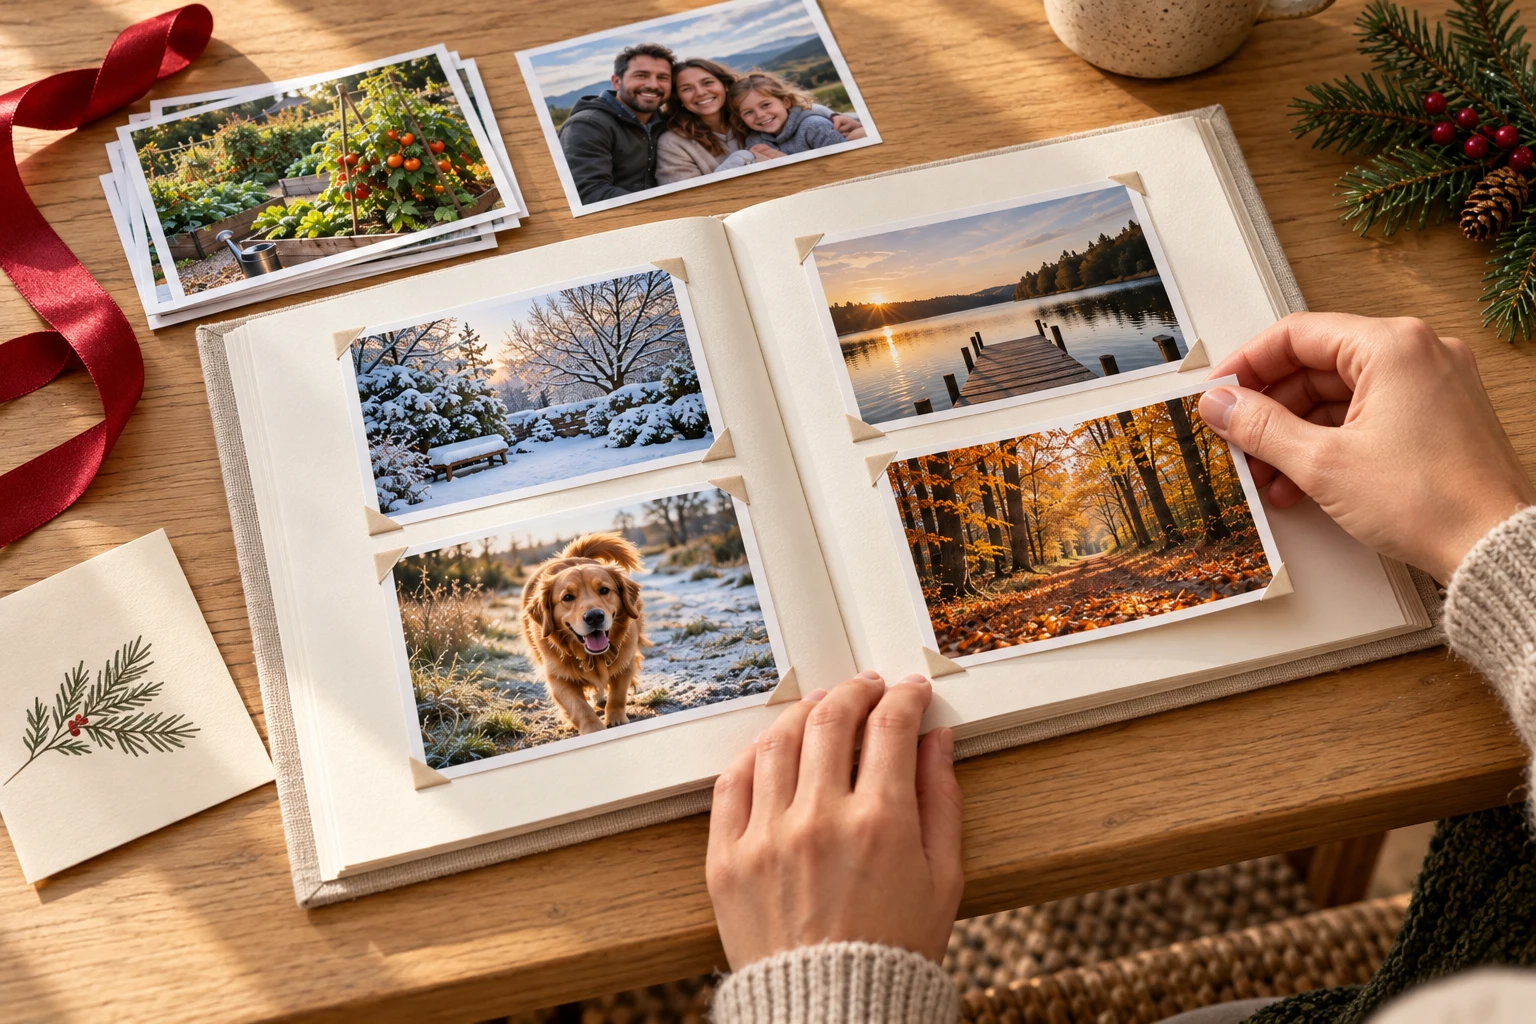
- A small album: choose an album separately, check the size of its pockets or pages, and leave room for your notes.
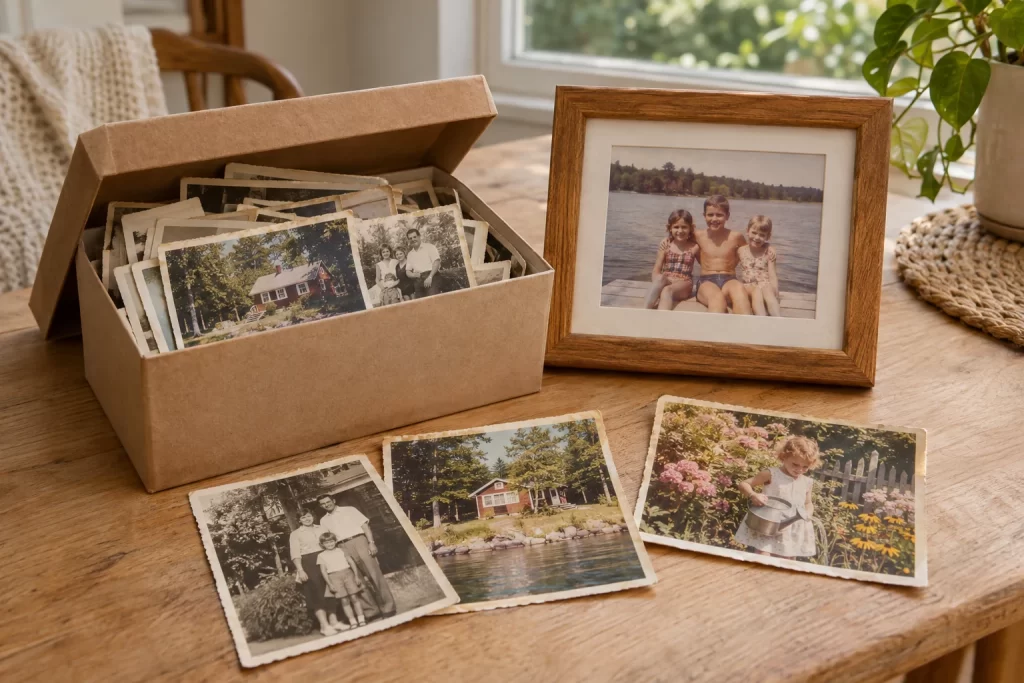
- A keepsake box: place the prints in a suitable photo-storage box with a card explaining why you chose them. The recipient can look through the set and pick favourites to display.
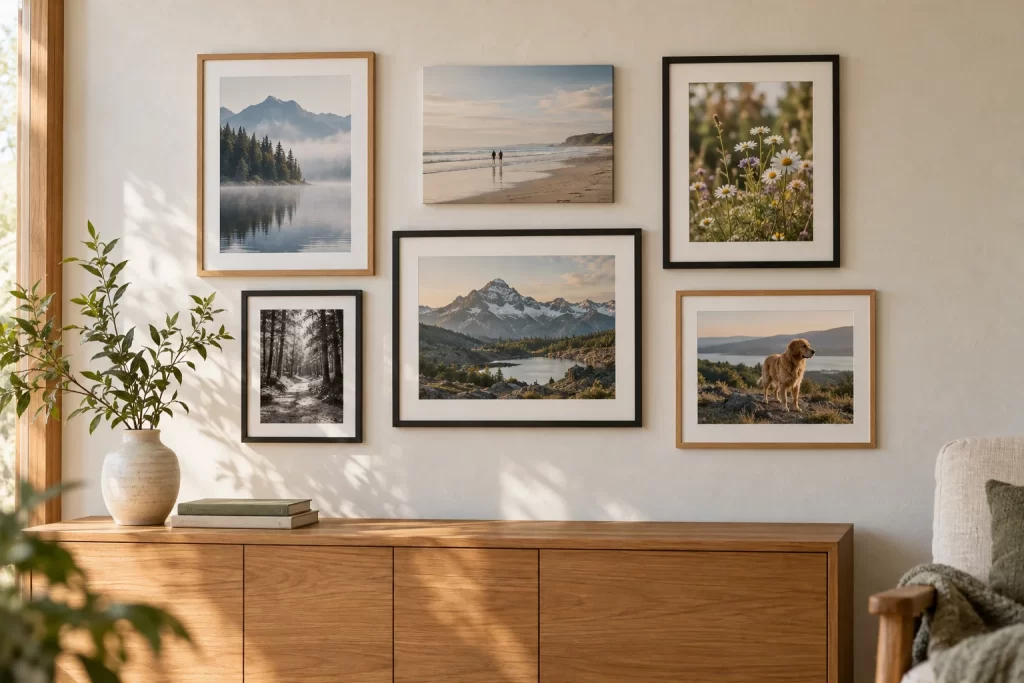
- A frame and a collection: give one favourite in a separately purchased frame, with the remaining prints to enjoy or swap into the frame later. Choose the same print size if you want them to be interchangeable.
Albums, boxes, frames and gift wrapping are your own finishing touches; our paper prints are supplied unframed. You can make the presentation as simple or as elaborate as you like.
Check each photograph at its chosen print size
Use the best original files you have, then choose the print size and review each crop. A group photograph may need a different shape from a close-up portrait. Keep faces, hands and meaningful details comfortably inside the crop, particularly if a frame or album opening will cover part of the edge.
Look for a Resolution warning and check the photograph itself for blur. A smaller print or a higher-resolution original may be a better choice. Our five checks before printing cover the essentials without turning this into a technical project.
Review the quantities as well. If two people would enjoy the same collection, you can order extra copies of the selected photographs. Let your edits finish saving and check Print Preview before adding your prints to the cart.
Start now, even while the year is still unfolding
A Christmas gift does not have to wait for the last photograph of December. You can tell the story of the year so far, choose moments from the past twelve months, or leave a space in an album for a photograph you will add after Christmas.
Give yourself time to choose the pictures, order the prints, and put the gift together. Check the current shipping timeframes and delay information before ordering, and allow time for delivery and any album or frame you need. If a particular arrival date matters, contact us before placing your order to discuss timing.
Starting with the photographs now makes the final steps easier when December gets busy.
Begin with the first three photographs.
Choose a person, a place and an ordinary moment you want to remember. Put them in a folder, then build your collection from there.
When your twelve are ready, choose your Photo Prints. If you would like to explore the controls first, try the editor with a sample photograph.